Flexural Test Methods for Plastics: ISO 178 and JIS K 7171 - Features
Test force accuracy of ±1%

A test force accuracy that meets ISO 7500-1 Class 1 and JIS B 7721 Class 1, accuracy within ±1% of the indicated test force, is required for ISO 178 and JIS K 7171.
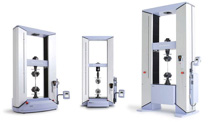
Test frames and load cells that surpass these requirements are Shimadzu’s AG-X plus series, AGS-X series, and EZ-X series.
Deflection measurements

ISO 178 and JIS K 7171 Compliant Deflectometers
ISO 178 and JIS K 7171 require ISO 9513 Class 1 accuracy (accuracy within 1% of the indicated value) for displacement measurements during testing.
For example, accuracy to within ±3.4 μm is required for measuring the flexural modulus of a 4 mm thick specimen.
Shimadzu's ISO 178 and JIS K 7171 compliant deflectometers integrate into AG-X plus series, AGS-X series, and EZ-X series test frames, and with Trapezium X testing software, form a comprehensive flexural test package. In addition, since these contact deflectometers push up against the specimen from below, specimen color is not an issue, as can be for laser non-contact deflectometers. Furthermore, these deflectometers provide additional functions, such as partially absorbing the shock during specimen fracture, preventing the scatter of specimen fragments.
High-rigidity test frames

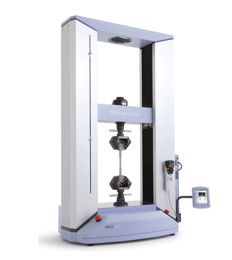
AG-Xplus Series Precision Universal / Tensile Tester
Included in the annexes of ISO 178 and JIS K 7171 are crosshead displacement and compliance correction requirements.
Crosshead displacement during testing not only includes specimen deflection, but also the penetration of the punch and supports into the specimen and the deflection of the test frame itself. To ensure ISO 9513 Class 1 accuracy throughout the entire measured deflection range, it is suggested that either a highly accurate deflectometer is used or a compliance correction for the test frame is performed.
Compliance correction cancels out the portion of crosshead displacement attributed to the deflection of the test frame. The correction magnitude can be minimized by using a highly rigid test frame with minimal deformation. Shimadzu’s AG-X plus series highly rigid test frames are ideal for flexural testing.
Note: Compliance corrections do not guarantee ISO 9513 Class 1 accuracy for deflections measured during tests.
Wide range of 3-point bend test fixtures

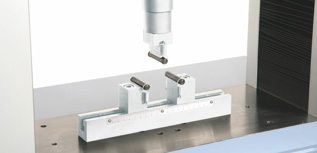
3-Point Bend Test Fixtures for Plastics
The radius of the punch and supports of the 3-point bend test fixture used for ISO 178 and JIS K 7171 flexural test standards are based on the thickness of the specimen. ASTM D790 specifies different radius values for punches and supports. Shimadzu offers a wide range of 3-point bend test fixtures to meet the requirements of all specimen sizes.


